



Campaign
ACE COMBAT 8 guide
Prepare your aircraft, weapons and squadron for each sortie’s objective.
Preparation and basics
Choose the job before the jet
Interception, carrier defense and an industrial strike need different equipment. Check what you must protect, whether surface targets are involved and whether your aircraft is permitted. Speed alone will not clear an industrial complex, and a bomber loadout cannot replace a timely interception.
Spend MRP along a useful route
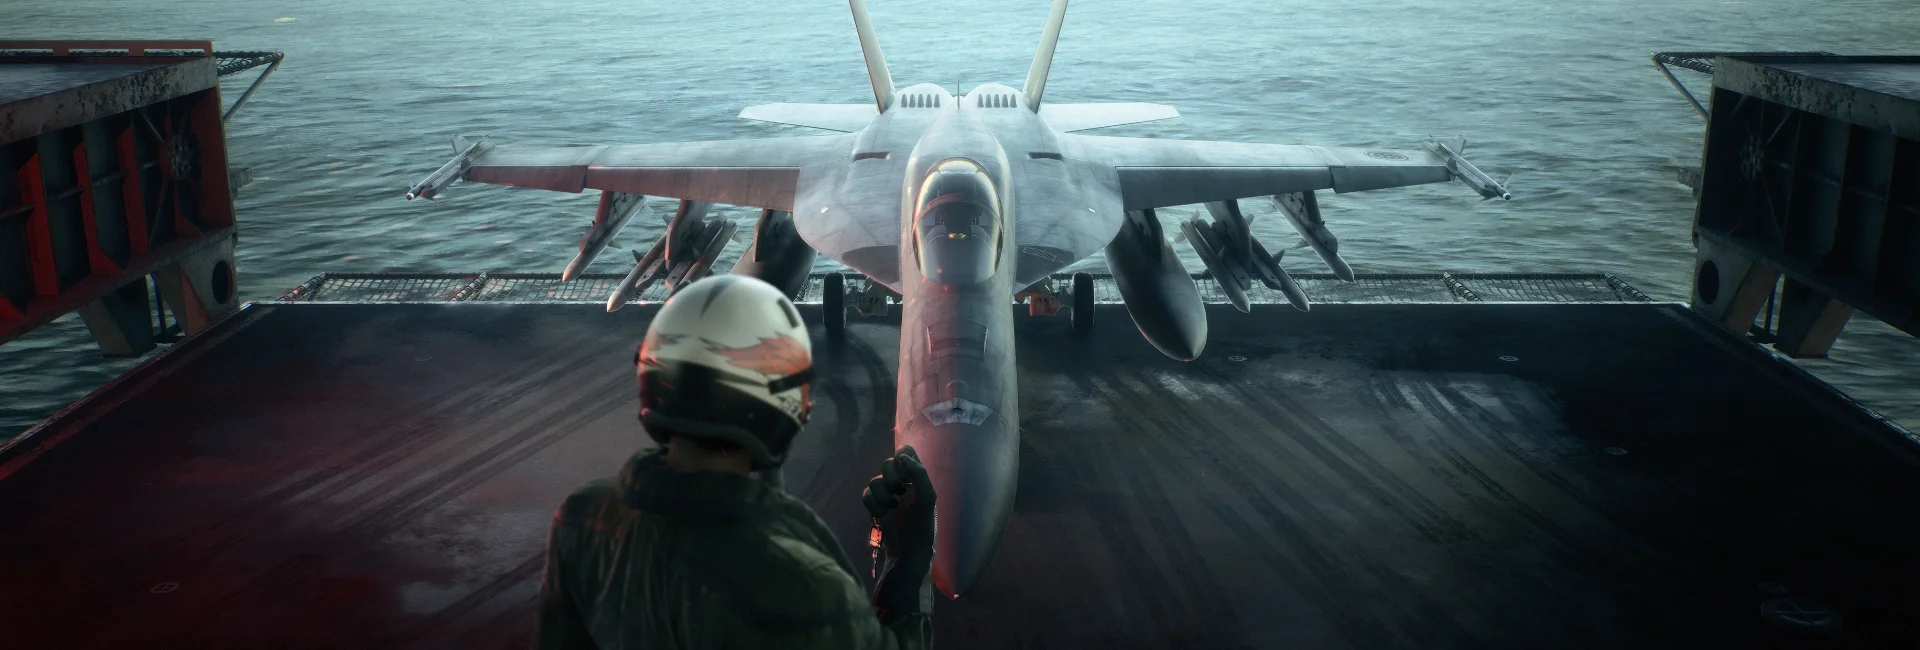
You start with the F/A-18C Hornet. The Aircraft Tree opens after Mission 02, Nomad. A jet’s price covers its own node; the connected prerequisite purchases still count. Before saving for the F-35C, inspect the entire branch instead of funding three routes at once.
Keep a carrier-capable option for restricted sorties. F/A-18E and F/A-18F have different weapons: the E starts with 6AAM, the F with LASM. Choose the role you need to cover, rather than treating both Super Hornets as identical.
One part, one slot
BODY changes aircraft handling and performance; ARMS modifies weapons; MISC covers other systems. In ACE COMBAT 8 each part uses one slot in its category. Comparison figures show equipment capacity: five BODY slots are not five speed points or proof of a universally better jet.
Give Joker Flight a job
Focus attacks on an urgent target, or disperse the squadron across several enemies. Cover helps you regain a firing position. Authorize special weapons when support is needed; an electronic-warfare aircraft does not mean its system is already active. Check the HUD and review orders after restarting.
Campaign and Online progress separately
Campaign MRP purchases do not automatically unlock the same jet in ACE COMBAT ONLINE. Mercenary rank and individual aircraft levels govern that progression. Co-Op Assault compares two teams’ scores against enemies; Co-Op Warfare also pits those teams against each other. Emergency Sortie brings eight pilots together against superweapons.
Campaign walkthrough
First clears and replays need different plans
The campaign contains a prologue and 30 numbered missions. This index keeps their English names so translated titles do not obscure the match. Objectives and boss details follow. On a first clear, prioritize survival and the active order; optional aces and S ranks can be tackled separately.
01 · Jokers Wild
Destroy the UAVs and the TGT reconnaissance aircraft.
01. Complete the opening Hornet instructions and clear the MQ-19 pairs. Keep the next target in view before turning so you do not have to find it again.
02. When the A-50 and MiG-21 escort arrive, check the TGT markers. On your first clear, finish the required objectives; the optional ace can wait for a replay.
02 · Nomad
Protect the Endurance from strike aircraft and bombers.
01. The deck approach is interrupted: accelerate when landing is canceled and find the A-6s attacking the carrier. Do not keep trying to line up with the runway.
02. Stay positioned to cover new attack directions. After each kill, check the radar around Endurance before chasing an enemy flying away.
03 · Purple Magic Takes Flight
Defend White Valley, then fight the Shadows.
01. Intercept bombers before they reach White Valley. Escorts can drag you away from the base; distinguish a score opportunity from the target creating immediate danger.
02. Then watch the arriving Su-25s and Lux Lunae TGTs. Purple Magic’s support does not replace your defense; use the new markers to choose which flank needs coverage.
04 · The Fall of the Numbered Fleets
Sink both fleets and destroy the TGT Su-33s.
01. Bring ship-strike capability and clear the fleets by sector. Remove defenses intercepting your attacks before repeating shots at a protected hull; check the selected target when markers overlap.
02. Finish the TGTs in both fleets and the marked Su-33s. When one area looks clear, check the other naval group before spending time on optional targets.
05 · Retaking of Theve
Cover the landing, then protect the retreat when ordered.
01. Protect the LCACs approaching shore. Alternate between air threats and artillery reaching the landing craft; do not clear inland targets while the landing force is still under fire.
02. When retreat is ordered, move your defensive coverage with it. Aircraft arriving after the sequence attack the survivors; cover their withdrawal instead of remaining over the beach.
06 · Attack on the Drinwich Airfield
Escort the assault without destroying fuel and ammunition stocks.
Before takeoff
Prepare for ground defenses and airborne threats. Favor precision weapons: the troops need to capture supplies inside the airfield. Wide blast damage can destroy the very resources you are helping them secure.
Mission route
01. After the opening refueling sequence, clear Spread 1’s northern valley route. Remove SAMs and aircraft threatening the transport before chasing distant enemies.
02. When Spread 2 requests help, switch to the southern valley. Support alternates between both groups; let the radio calls determine which transport needs you now.
03. During the airfield assault, clear the TGT vehicles, helicopters and Su-25s blocking the troops. Aim directly near the supply stockpiles and avoid detonating fuel stores.
04. The allied arrival is not the end. Keep an anti-air option for the final four TGT quadcopters and destroy them before returning to optional targets.
The priority that decides the sortie
More destruction is not always progress: preserving the supplies is part of this mission’s objective.
07 · A Lifeline in the Desert
Build score sector by sector and rearm at the return line.
Before takeoff
Prepare for an industrial strike: weapons for clusters, plus missiles for isolated defenses. A Return Line allows rearming. Plan the return before running dry; crossing the map with empty racks wastes the mission timer.
Mission route
01. Work through one sector with connected attack runs instead of bouncing between distant targets. Fuel and explosive stores create chain reactions; attack them first when other structures surround them.
02. Remove defenses obstructing your attack route. Use the gun on easy targets when it avoids an extra turn, and save special weapons for clusters or tougher structures.
03. Check ammunition after each run. If you need a reload, finish toward the Return Line and pick the next sector before crossing back into the fight.
04. Reaching the HUD quota does not end the sortie immediately: the clock keeps running. Keep scoring safely, and avoid a final resupply trip that leaves no time for another attack.
The priority that decides the sortie
Routing matters as much as weapon choice: chain reactions and fewer empty flights give you more time on target.
08 · Retaking of Theve II
Alternate ground support and bomber interception; conserve ammunition.
01. There is no Return Line: budget ammunition for the landing, artillery and air battle. Use fuel trucks beside ground positions and squad support to reduce isolated shots.
02. Bomber waves approach from the south, northwest and west. Intercept them, then resume ground support between waves. Finish both the Shadows and remaining ground TGTs in the final phase.
09 · The Land Battleship Blockade
Protect the trucks, disable the battleship’s mobility and answer demolition orders.
01. First let the explosive trucks reach their target: remove weapons and drones attacking them. Then hit the exposed tracks, changing sides when no accessible TGTs remain.
02. At the final order, hit the marked buildings before the battleship passes them. Keep ammunition for the thrusters used in its last escape attempt.
10 · Over the Rainband
Follow the lasers to the airships guiding the orbital attack.
Before takeoff
Prepare an anti-air loadout and watch threats to Endurance. The mission shifts from fighter defense to locating the platforms directing an orbital attack. Clearing every drone is no substitute for finding the designator.
Mission route
01. Intercept the opening F-2A and Mirage wave. Do not chase a retreating fighter far from the carrier; stay able to react when the next threat appears.
02. The first strike on Bravery is scripted. When the beam later targets Endurance, follow it back to its source and destroy the airborne platform directing it.
03. Later platforms deploy Swarm drones. Clear a safe approach, then return to the laser designator; chasing every drone can leave the carrier’s main threat active.
04. The final attack has two directing platforms. After destroying one, find the other immediately; one explosion and a radio call do not mean the threat is over.
The priority that decides the sortie
Follow the beam, not only the radar. The platform designating Endurance is the decisive target.
11 · Maximum Payload
Find Podarges by their contrails and destroy every required target.
Before takeoff
Bring an anti-air loadout with enough ammunition for several components per bomber. Jamming limits the opening radar picture: watching the sky is part of the fight, not just an orientation aid.
Mission route
01. Find contrails and follow them to the Podarges. Without radar contact, change your viewing angle before flying aimlessly across the map.
02. Attack the TGT components and check which markers remain after each pass. Hitting the fuselage is not the same as destroying every required part.
03. Six bombers form three groups. When Lux Lunae Unit 55 intervenes, its TGTs also become mandatory. Retain a dogfighting option and finish all marked objectives, not just the bombers.
The priority that decides the sortie
Contrails find them; markers finish them. Separate visual searching from checking the remaining components.
12 · An Island in Darkness
Defend Fort Grays and intercept missiles threatening the base.
01. Watch the approaches to Fort Grays and the bombers converging from different sides. Commit to one interception, finish it, then cross to the next; escort chases delay you.
02. C-130s deploy MSL PALLETs. Destroying a transport prevents further drops but does not erase missiles already released; check the base approach and clear escaped ALCMs.
13 · The People of the Lost Country
Clear the transport’s route and secure its final approach.
01. Clear the transport’s immediate route without losing sight of it. MANPADS may appear late: remove defenses ahead, then check back beside the escorted aircraft.
02. When the landing-zone ambush is reported, clear its air defenses. Keep protecting the transport after touchdown: the final F-4Es and Su-25SMs can still disrupt the extraction.
14 · Two on the Run
Escape unarmed using terrain and gaps in radar coverage.
01. The A-6E is unarmed. Use the radar visualization to line up the next gap before entering, keeping terrain between you and emitters. Changing weapons cannot solve this mission.
02. When Baxter calls for speed, accelerate along the escape route. Follow the instruction into the cloud to break the pursuit, then return to the canyon; turning toward fighters only helps them catch you.
15 · Wings of Wax
Interrupt the heavy bombers’ attacks on the fleet.
01. Do not chase Ladons from behind; they are too fast. Track the moving radar-jamming area and intercept their next pass toward the fleet.
02. Close in to reveal components and attack the main engines. If CIWS intercept your shots, remove them to open the next attack; downing one bomber does not stop the other.
16 · Singer
Identify the three disguised ships; intercept UAVs if they launch.
Before takeoff
This sortie requires identification before firing. Bring ship-strike weapons and a quick anti-air response for drones. A target lock does not prove hostility: civilian traffic is mixed among the freighters.
Mission route
01. Look for three cranes and a sun emblem on the same freighter. Count from above, then inspect the hull from the side; both clues must match one ship.
02. Repeat the inspection to identify all three hostile freighters. If a turn breaks your visual reference, check the hull again rather than firing into the entire group.
03. If explosive UAVs launch, switch priorities: intercept those highest in the climb first. Stop them before the indicated ceiling, then resume the ship search.
The priority that decides the sortie
Two checks before firing; altitude before distance once drones launch. Identification and urgent interception are different jobs.
17 · Land Battleship No. 3
Protect the bombers and attack the cannon through armor breaches.
01. Open Bigfoot’s corridor. Remove SAMs, radars and antiaircraft positions along the bombers’ route. While waiting for their approach, change direction when the railgun warning sounds.
02. Shoot through the breach. After the bombing run, align the internal cannon with an opening in the armor. If plating blocks the shot, reposition before spending another missile.
18 · Moonlight and Shadows
Intercept rockets after launch, then destroy their debris.
01. Preserve ammunition on approach. Cross the Rainband, respond to the attack on Queen Flight, then resume the southern route when ordered. Do not chase withdrawing enemies.
02. Wait for launch. Do not attack grounded rockets: destroy both during ascent, then immediately switch to their debris. Break up the marked fragments before they reach the launch center.
19 · Clearing the Lighthouse
Protect the elevator and exploit openings in the battleship.
01. Check your firing line. Stop the Space Elevator’s ascending cargo and destroy exposed canisters. Find a clear angle: the structure you must protect sits very close to your targets.
02. Open the next phase. Clear Bigfoot’s approach and suppress the indicated guns. After the breach opens, follow the new targets; in the final phase, exploit open heat vents.
20 · Escort Orbiter
Protect the transport and directly intercept image-guided missiles.
01. Stay within interception distance. Fight around the transport without following fighters across the map. Keep track of the escorted aircraft so you can return as soon as the threat changes.
02. The missile needs a direct interception. Image guidance ignores flares: leave the dogfight and shoot it down. Once another formation takes over escort duty, engage the remaining fighters.
21 · The Star-Bound Bird
Defend the shuttle and control center through launch.
01. Defend both assets. Check the shuttle and control center after each pass. Build score against their attackers: a distant kill helps little if it leaves an approach to the launch site undefended.
02. Prepare for later waves. Fight within Magnolia’s ESM coverage when active. Rearm at the eastern base during a safe break, without leaving an immediate threat over the launch complex.
22 · Pursuing the HSCA
Pursue Celaeno and switch to each phase’s vulnerable component.
01. Watch altitude on approach. Follow the low route over the sea while checking ALT. Once you reach Celaeno, select propulsion components as they become vulnerable rather than firing into its silhouette.
02. Do not linger under Fatsia’s defenses. Alternate attack passes with lateral movement as you approach its defensive zone. After disabling the HSCA, follow the withdrawal toward the western safe area.
23 · The Destruction of Expo City
Build score while removing obstacles to the allied advance.
01. Let allied movement shape your route. Attack guns and heavy vehicles blocking each unit. Once it advances, move to the next stalled group instead of clearing one corner of the map.
02. Keep weapons for a changing front. When bombardment comes from the bay, neutralize the ships and return inland. Retain air-to-air missiles for the formations interrupting your ground-support work.
24 · The Battle of Rocky Island, Day 1
Support the landings and clear the route inland.
01. Share support across three beachheads. Locate Alpha, Bravo and Charlie, then remove defenses firing on their landing craft. Check the other two routes after clearing each approach.
02. Save weapons for the inland push. When the operation shifts toward Turntable and the geothermal plant, clear that access route. Follow the updated order to protect Charlie before hunting secondary targets.
25 · The Battle of Rocky Island, Day 2
Alternate support for east and west forces through the final assault.
01. Alternate east and west. Free whichever column is stalled and check the other after each attack. Use the western return line before exhausting the weapons needed for heavy vehicles.
02. The Shadows are not the finish. Defeat their formation, resume support at the headquarters’ breach points and wait for the Immortals’ request. Strike the marked wall, not an arbitrary facade.
26 · Crossing Fleets
Protect the fleet and follow the escort objective after the battle changes.
01. Interrupt naval attacks when threats change. Explosive boats from the west and anti-ship aircraft from the south take priority when closing on your fleet. Stop finishing distant ships and intercept.
02. Recognize the escort transition. After the high-altitude encounter, let the fleeing enemy go and accompany Baxter. Match his pace and follow the return and landing instructions instead of continuing the chase.
27 · Fatsia, The Ocean Fortress
Damage the outer structure, then switch to the reactor when ordered.
01. Work along one Fatsia arm at a time. Look for support pillars or explosive facilities with a clear escape line. Concentrate structural damage without touring the entire platform for every red marker.
02. Obey hold fire and prepare your entry. When the objective resumes, align with the reactor before entering. Hit it twice before the shutter closes; leave turning room after the first attack.
28 · A Thousand Points of Light
Intercept bombers, rearm and reserve weapons for the Shadows.
Before takeoff
Prepare for a long air battle: bombers, escorts and a later Shadows engagement. The airfield allows landing and rearming; do not look for a Return Line like Mission 07’s.
Mission route
01. Find the bomber formation closest to threatening the base. Break its attack before getting tied up with fighters; use multi-target weapons while bombers remain grouped if equipped.
02. Between waves, check damage and ammunition. Land during a safe gap, not after reaching gun-only status as the next threat arrives. Recheck squad orders and special-weapon permission after returning.
03. Against the Shadows, stop repeating missile volleys from angles they are already evading. Rebuild a firing line, combine gun and missiles safely, and use ESM support if your squad provides it.
The priority that decides the sortie
Reach the final fight supplied, rather than hoarding every early missile. Meeting the mission quota alone does not guarantee an S rank.
29 · Selene
Complete the objectives of the confrontation with Moon 11.
01. Find a clean window against Moon 11. Fire as her tight turn opens, not at every lock tone. If Escort UAVs block attacks with APS, create an opening and return to the X-40.
02. Keep fighting after the airframe falls. The X-40 Nose Unit separates and continues the threat. Follow it, then destroy the marked Laser Designator; the first shootdown does not complete the mission.
30 · Song of Wings
Defend the Endurance and respond to each new submarine phase.
Before takeoff
Cover both air and sea in one sortie. Keep weapons for missiles and UAVs alongside damage for the Triumphant submarine. If your configuration permits two special weapons, cover different jobs rather than doubling only ship damage.
Mission route
01. While the submarine is submerged, protect Endurance from anti-ship missiles. Stop threats nearest impact, then reposition to cover the next approach.
02. Destroy the hostile laser-guidance UAVs so the allied airship retains control of the orbital counterattack. Clear the next group as well, while still intercepting missiles already approaching the carrier.
03. Once Triumphant surfaces, attack its marked weapon systems. A submerged launch tube follows; switch to that new TGT instead of searching the deck for launchers you already destroyed.
04. During the final ramming attempt, switch to the hull. Commit remaining suitable weapons to direct damage and use the gun on safe passes. Continue until destruction is confirmed.
The priority that decides the sortie
The required target changes between phases. Destroying a launcher does not remove missiles it already fired.