




Getting started
Galactic Racer guide: from your first Tour to the final
Understand the campaign, choose a vehicle and build a setup that solves each circuit’s challenges.
Preparation and basics
What you can lose in a Tour
The campaign has three acts. Each attempt to complete an act is a Tour: choose events, install rewards and reach a final. Before racing, check both your event’s crash allowance and the League Tokens left to continue the Tour.
01. In qualifying events, target the required place. First is not always necessary.
02. In Eliminator, watch the next cutoff. Escaping elimination takes priority over a side bonus.
03. Before an optional event, check which token or resource is at stake. You may need it for story progression.
Three classes, three ways through a corner
Try each class’s handling move before choosing on speed alone. Your vehicle stays with you during the Tour; change it at a new Tour or act. Podracers run dedicated events rather than freely replacing your speeder.
01. Landspeeder · Drift: rotate through the corner, then practise releasing the drift with the exit lined up.
02. Speeder bike · Kinetic Burst: brake with the move and use the speed restored on release. Set up the exit before releasing it.
03. Skim speeder · Knife Edge: bank to tighten the turn. Repeat a corner to learn how much speed you retain.

Landspeeder
Parts, abilities and upgrades: what you are buying
Equipment slots do different jobs. A part can help without a button press; an active ability needs energy. Read the effect’s trigger before taking a reward.
01. Part Pack: pick a passive part. Cooling Slipstream, for example, needs drafting; it does not keep Cooled active while you race alone.
02. Ability Pack: pick an ability. Battery determines your energy capacity; Crash Abilities trigger when you wreck without spending that reserve.
03. Upgrade: improves vehicle stats. Racer Style and Favors concern your racer and Tour preparation, rather than replacing a part bought during the run.
In the paddock: faults before purchases
A part with Fault cannot simply be swapped for a purchase: repair it at the Scrap Dealer first. Check the repair bill before spending your credits on new equipment.
01. Inspect installed parts to see which effect has stopped working.
02. For abilities, visit Hibi and read the pack’s choices before replacing your current one.
03. Before leaving, check the next planet: Sentinel I brings acid, while Ando Prime brings freezing.
Campaign walkthrough
Goals and unlocks by act
Find your current act to see what you must complete and what can wait. Individual Tour events can vary; these are the campaign milestones.
Act I · Qualifying
Complete the qualifiers and beat Sebulba to earn a place in the Galactic League.
What changes
Learn the speeder classes, paddock upgrades and League Token management. Jakku’s heat, Lantaana’s water and Ando Prime’s ice introduce different hazards.
Where to go next
Winning the duel opens Act II. If knocked out first, retry this act with the permanent progress you have earned.
Act II · The Galactic League
Clear the Galactic Gauntlet and defeat Kestar Bool in Stadium Showdown.
What changes
Backer contracts, sidebets and rivalries join the campaign. Sebulba offers Tales of Podracing, memories played as him rather than the unlock of your own pod.
Where to go next
Beating Kestar opens Act III. You do not need all 12 Tales to advance; keep visiting Sebulba in later hubs.
Act III · Kestar’s League
Complete the six-planet Tour, clear the Gauntlet and face Kestar in the final with Shade’s podracer.
What changes
Shade receives a pod and dedicated preparation events, including Tatooine. Most of the Tour still uses speeders; the pod is reserved for its specific events.
Where to go next
Finishing unlocks Champion and lets you repeat Act III for unfinished challenges or a different setup.
The planets in each act
Planets mark each act’s progression, but Tour events and rewards can vary. Use this route to prepare for the next environment. Always check the event card for laps, the required placing and what is at stake.
01. Act I: Jakku → Lantaana → Ando Prime → Derven Acos.
02. Act II: Sentinel I → Jakku → Crait → Ando Prime → Derven Acos.
03. Act III: Lantaana → Ando Prime → Sentinel I → Jakku → Crait → Derven Acos, with additional podracer events.
What changes between acts
Act I: learn corner sequences and heat management before facing Sebulba. Act II: deal with corrosion, contracts, rivals and podracing stories. Act III: complete a longer route and prepare podracer handling for the finale.
When a run ends, fix what caused it
Losing a Tour can return you to the start of the current act, not the beginning of the entire story. Permanent progression such as tuning points and unlocks gives the next attempt more options. Temporary Tour purchases are separate from that progression.
Before retrying, check available permanent unlocks and change what ended the run. Repeated collision: move your braking point. Explosion: shorten Ramjet use. Fault: inspect parts and repairs. This gives you one change to evaluate next time.
After the campaign
Finishing the story unlocks Champion and lets you return to Act III. Before raising the stakes, finish missing Sebulba challenges, try another Racer Style or practise a different class. Consistency can be your next goal rather than speed alone.
Act I: qualify and beat Sebulba
Jakku → Lantaana → Ando Prime → Derven Acos. Learn your vehicle’s rhythm and prepare for the first major duel.
Jakku: from the ship graveyard to your first Tour
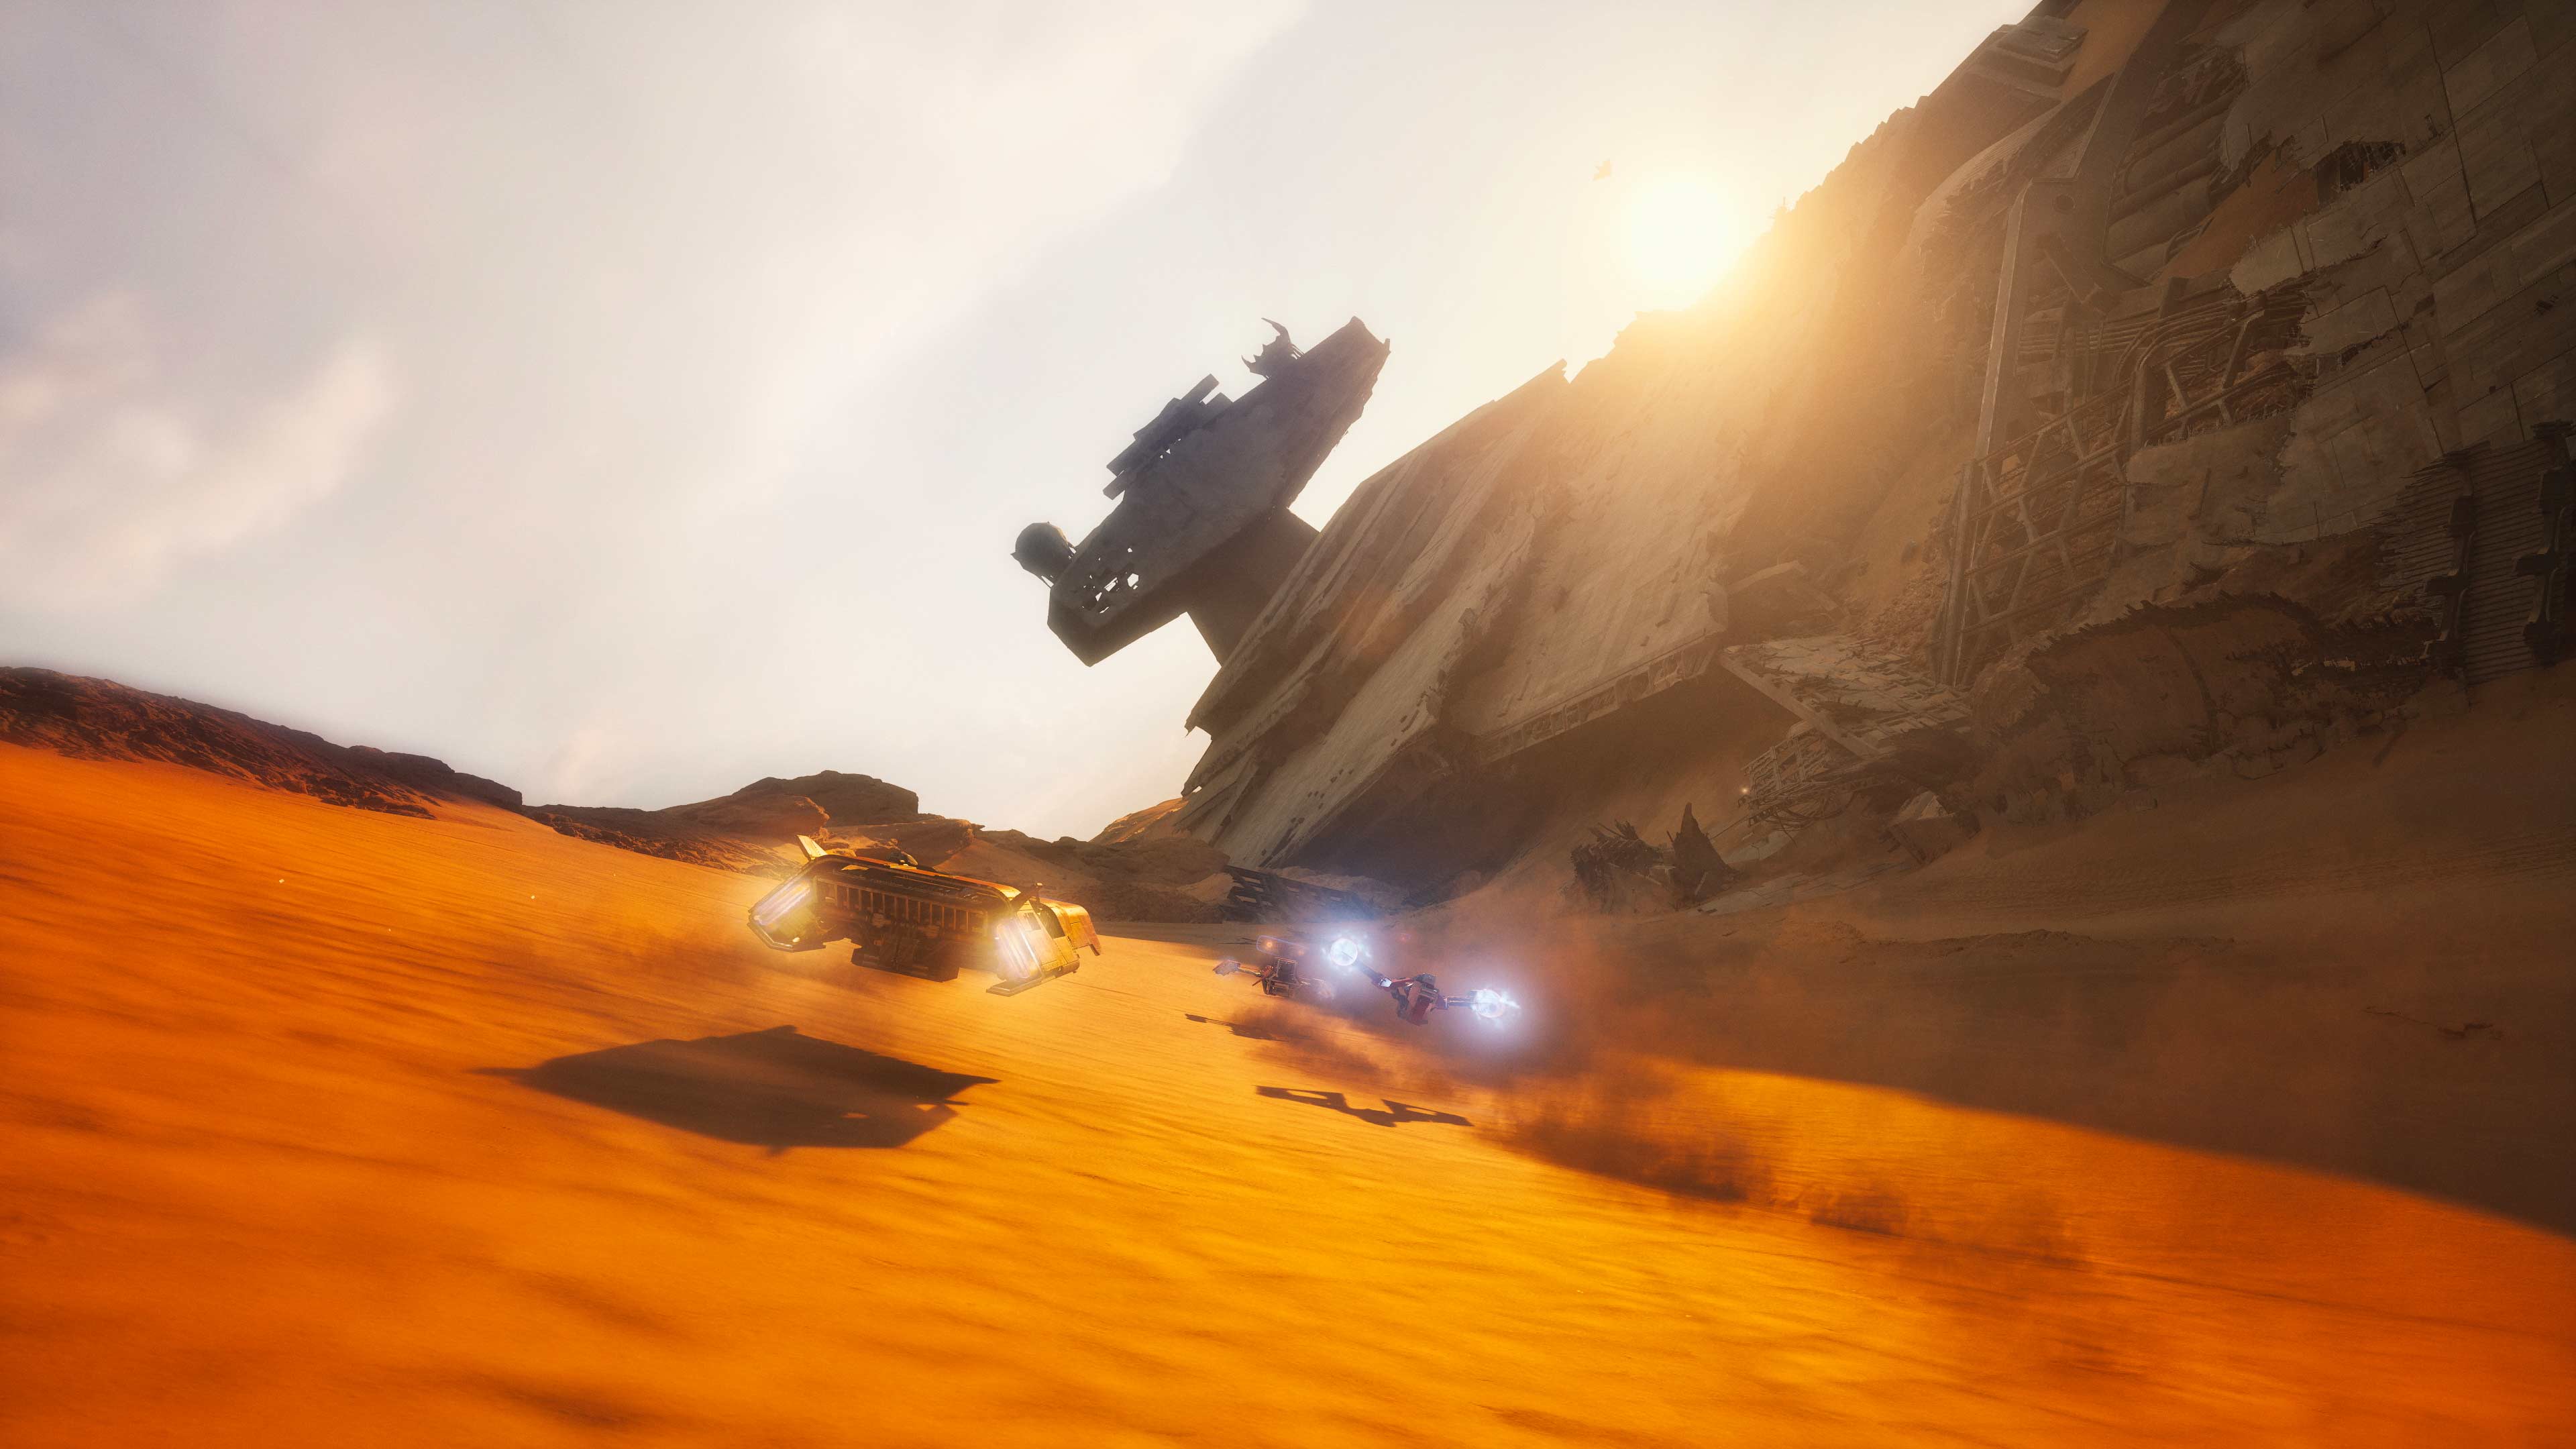
The Giants’ Graveyard exhibition introduces acceleration and Ramjet before the qualifying Tour. Jakku then takes you through sand and Imperial wreckage, including Debris Dunes and The War Fields. An open straight is not a reason to empty the Ramjet into the narrow passages ahead.
01. Release Ramjet before a narrow passage and line up the vehicle. Accelerate again once the exit is visible.
02. Try the shade beneath wreckage for thermal headroom. Skip it if reaching it forces a correction into the hull.

Jakku
Lantaana: cooling water and a clear exit
Geothermal Tour crosses Lantaana’s geothermal landscape, while Moro Kehn Tunnels and The Pyroducts offer other routes. Water can cool your vehicle; hot sections put pressure on Ramjet. Look at where each surface ends before choosing a line.
01. Enter water already lined up, then boost on the next clear section. Do not chase cooling through traffic with no escape.
02. If Burning appears, release Ramjet and seek cooling or cleansing. More boost while heat climbs brings the explosion closer.

Lantaana
Ando Prime: check Frozen before the corner
On Monastery Mountains and the other icy routes, cold can help Ramjet management while taking away steering. Chilled provides cooling but builds Frozen; if steering response drops, address the status rather than simply steering harder.
01. Locate warming areas and approach them before arriving frozen at a tight turn.
02. If a Field Test asks you to stay Frozen to extend Ramjet, follow that event’s condition. A normal race does not require the same state.

Ando Prime
Derven Acos: the Sebulba duel
Qualification ends in a head-to-head with Sebulba. You must win; a safe qualifying position is no longer enough. Use the opening to read his attacks and identify your strongest passing section. Avoid turning every contact into a prolonged fight.
Prepare a clean start, hold a defensive answer and spend Ramjet where you can maintain your line. If you lose, identify whether sustained speed or control was missing: more power will not fix repeated crashes. Beating Sebulba opens the next act.

Derven Acos
Act II: master the League and overcome Kestar
Sentinel I → Jakku → Crait → Ando Prime → Derven Acos. Corrosion, contracts and a finale that demands more than speed.
Sentinel I: leave the acid before regaining speed
Act II opens on the planet of Caustic Fields, Sentinel Lakes and Bool River Run. Corroded does more than slow you down: it disables Ramjet, and continued exposure can cause a crash. If boost stops responding, check your status and position relative to the acid.
01. Before the first event, consider Resilience if impacts and statuses leave little margin. Adding protection does not require replacing your whole build.
02. Use Shield before an exposed section. If already Corroded, leave the area and cleanse; do not stay inside expecting the scrubber to solve continuous exposure.

Sentinel I
Contracts and rivals: choose compatible goals
Check the paddock’s Backer Contracts and pick goals that suit your driving. A manoeuvre or combat task is not free money if it costs your crash allowance. Decide whether this run prioritises League progress or a secondary objective.
Side bets let you target particular racers. Repeatedly challenging the same pilot can develop their rivalry and open a head-to-head. Do not commit resources needed to finish the act just to chase an optional reward.
Crait: red dust can cut out Ramjet
After Sentinel I and Jakku, the route reaches Crait. Its salt flats and mines include Forgil Canyon, Crimson Mines and Crystal Caverns. Dust can apply Choked and disable Ramjet: this is not a missed button press or a reason to stay glued to a rival’s wake.
01. Move out of the plume before preparing the next boost. If carrying Status Scrubber, use it when there is a status to remove.
02. Ando Prime comes next. Keep the working part of your setup and prepare for Frozen; dust is no longer the main problem.

Crait
Sebulba’s stories are now available
From this act, look for Sebulba in hubs for Tales of Podracing. There are 12 challenges with their own conditions; winning may not be enough when an extra objective applies. These differ from later events in Shade’s podracer.
Derven Acos: clear the Gauntlet and prepare for Kestar
The Galactic Gauntlet narrows the field in stages before the decisive confrontation. Watch each phase’s qualifying threshold; when holding position is enough, avoid unnecessary contact. When victory is required, save energy to pass on your most reliable section.
Before Stadium Showdown, check faults and whether your defensive ability still fits. Against Kestar, a long acceleration from a well-positioned vehicle beats activating everything into a corner. The final goal is first place, not the maximum number of takedowns.
Derven Acos
Act III: Shade’s podracer and the final race
Prepare for six planets, dedicated podracing challenges and the final confrontation with Kestar Bool.

Six planets: prepare for the next environment change
The main route is Lantaana → Ando Prime → Sentinel I → Jakku → Crait → Derven Acos. The key early transition is from ice to corrosion. Before leaving Ando Prime, make sure your setup does not rely entirely on exploiting the cold.
At each paddock, review faults, available energy and protection for the next hazard. In a long act, defence that helps across several races can be worth more than an upgrade for one straight.
Shade’s podracer has dedicated events
Sebulba supplies a podracer at this stage and getting it ready is part of progression. It does not become a fourth choice for every race. Dedicated events teach its handling and prepare you for the finale; follow the paddock prompts as they appear.
Practise the start and braking again; do not copy your speeder rhythm straight into a podracer. Higher speed changes how early you must read a corner. Use the first challenges to learn that margin before chasing an aggressive lap.
Mawhonic Speedway and Tatooine: learn the pod
After the Ando Prime stage, podracer preparation takes you to Mawhonic Speedway; later Sebulba brings you to Tatooine. These help prepare for the final, but check each event card: some challenges put League Tokens at stake.
01. In Tatooine’s canyons, lift before entering and aim through the centre. Podracer width leaves less room for a last-second correction beside a wall.
02. In Tales of Podracing, read the secondary objective too. Sebulba’s 12-memory series is separate from Shade’s podracer events.

Tatooine
Derven Acos: arrive ready for the last duel
After the Gauntlet, the championship culminates against Kestar Bool in a podracer. Before proceeding, inspect faults and avoid buying effects whose triggers you cannot maintain. You need a repeatable start and a clear response when your rhythm breaks.
Plan your pass on a familiar section and protect the exit of the following corner. Do not spend all your energy merely because you are second if you cannot use it effectively yet. Once ahead, avoid gifting a crash: a clean line can finish the job better than another collision.
Derven Acos